So, you've had some asphalt patching done, maybe on your driveway or a commercial lot right here in Van Nuys. Good for you, you fixed a problem before it got worse. But don't just forget about it now. Patching isn't a "set it and forget it" kind of deal, especially with the sun and occasional downpours we get here in the Valley. You want that repair to last, don't you? Let's talk about how to make that happen.
Making Your Asphalt Patches Last Longer
The biggest thing you can do to extend the life of any asphalt work, including patches, is to protect it from the elements. Here in Southern California, that means sun and water. Our intense summer sun bakes the binders right out of the asphalt, making it brittle. Then, when the winter rains come, that water seeps into those tiny cracks. It might freeze (rarely, but it happens up in the hills sometimes), or just expand with heat, and then you've got bigger problems.
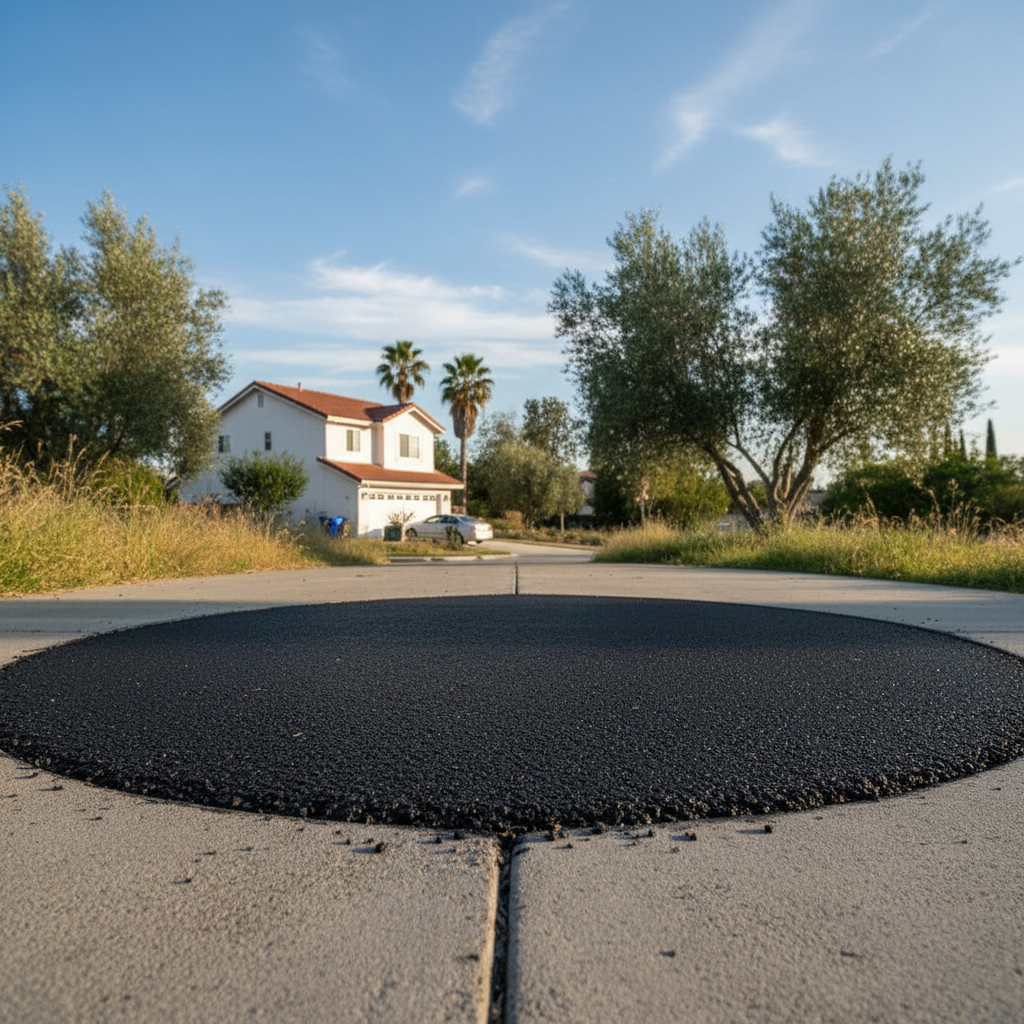
The best way to protect your patches is with sealcoating. I know, I know, some folks think it's just for looks, but it's really a protective layer. It seals those tiny pores and cracks, keeping water out and preventing the sun's UV rays from breaking down the asphalt. For patches, you want to make sure the patch has cured properly before sealcoating. That usually takes about 30-90 days, depending on the type of patch and the weather. If you sealcoat too soon, the solvents in the sealer can mess with the patch's curing process. We always advise our clients at All Things Asphalt Company on the best timing for this, by the way.
Another thing? Keep heavy loads off it for a bit. If it's a fresh patch, especially a larger one, give it time to settle and compact fully. Don't park your RV or a heavy commercial truck on it the day after it's done.
Regular Upkeep: What You Need to Do
Regular maintenance for patched areas is pretty straightforward, but people often overlook it. Think of it like changing the oil in your car – a small effort for a big payoff.
- Keep it Clean: Sweep off dirt, leaves, and debris regularly. This stuff can hold moisture against the asphalt, which isn't good. Plus, if grit gets ground into the surface by tires, it can speed up wear.
- Clean Up Spills Right Away: Oil, gas, and other automotive fluids are asphalt's worst enemies. They dissolve the asphalt binder, turning it into a crumbly mess. If you see a spill, clean it up with an absorbent material like cat litter or sand. Then scrub it with a stiff brush and a mild detergent. Make sure to rinse thoroughly.
- Check for Drainage: Make sure water isn't pooling on or around your patched areas. Standing water will find its way into any tiny crack and start to erode the base layer over time. If you've got low spots where water collects, that's a problem that needs fixing beyond just patching.
Signs of Trouble to Watch For
You've got to be observant. Walk your property every now and then, especially after a good rain or a stretch of hot weather. Here's what you should be looking for:
- Cracks Coming Back: If you see new cracks forming around the edges of your patch, or even through the patch itself, that's a red flag. It could mean the underlying problem wasn't fully addressed, or the patch is failing.
- Sinking or Ruts: Is the patched area sinking or developing tire ruts? This indicates a problem with the base material underneath. The patch might be holding up, but the ground below it isn't.
- Loose Rocks: If you're seeing a lot of loose stones or gravel on the surface of the patch, it means the binder is breaking down, and the patch is starting to fall apart.
- Fading or Changing Color: While sealcoating helps, if the patch itself looks significantly lighter or more gray than the surrounding asphalt, it's a sign of oxidation from sun exposure. This makes the asphalt brittle.
- Water Pooling: Again, if water is collecting on the patch, it's going to cause issues.
When to Call a Professional
Look, I'm a contractor, so you might think I'd say